On this page:
About content acceleration settings
Before you can use content acceleration, you'll need to log in to mySciLEARN as a district manager and add the settings for the new content acceleration server you’ve installed. You’ll need the content server hostname and port information (see your system administrator if you don’t have this information). See the rest of this topic for steps.
Tip: For districts that want to use content acceleration while supporting location-based training, mySciLEARN provides an option that accelerates content access on startup. See Optimize for home use (advanced) for steps.
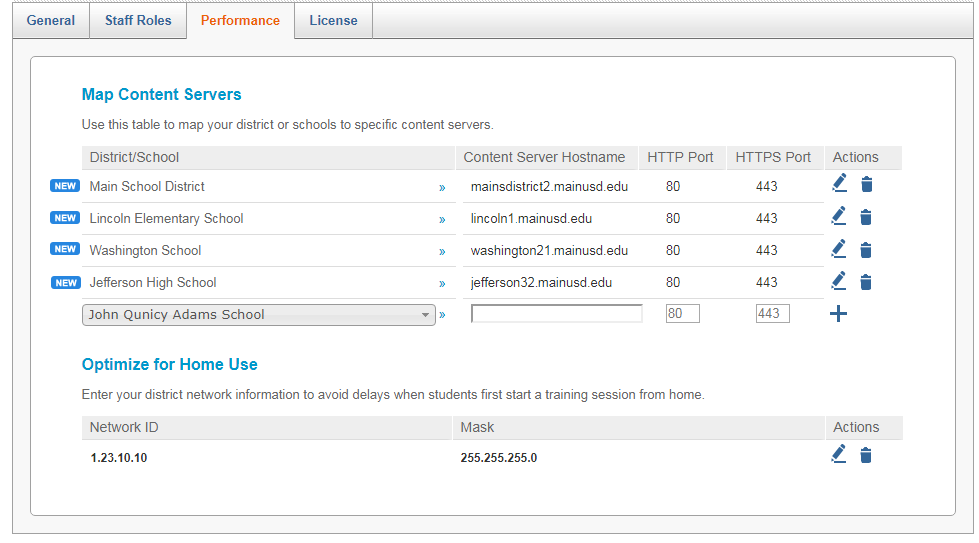
Access the Performance screen
Use the System page to access the Performance screen, where you can configure the content servers for your school or district. You can access the System page based on your staff role:
- District managers can see the System tab and access the Performance screen.
- School managers and instructors cannot see the System tab and cannot access the Performance screen.
To access the Performance screen:
- Log in to mySciLEARN as a district manager. See Log in as a staff member.
- Click the Manage tab > System tab > Performance tab to open the Performance screen.
Set up a content server
When your school or district has installed and configured the Scientific Learning content server software on a local computer, you’ll need to enter the content server settings into mySciLEARN. You must perform this task to use a content server.
For tips on how to organize the content servers at your location, see What are some deployment options?
Add content sever settings
Before you start, you'll need the hostname and ports for the new content server you plan to set up. Check with your system administrator for details.
- On the Performance screen, select your school or district from the menu.
- Enter the following information for the new content server computer and under Actions, click
 .
. - Content Server Hostname. Enter the new content server computer’s hostname.
- HTTP Port. If the new content server is using a port other than port 80, enter that port.
- HTTPS Port. If the new content server is using an secure port other than port 443, enter that port.
If you set up a district content server, it becomes the default content server for all schools in the district, unless those schools are mapped to another content server. Learn more »
These must match the settings entered in the Apache 2.4 httpd.conf file—check with your system administrator for details.

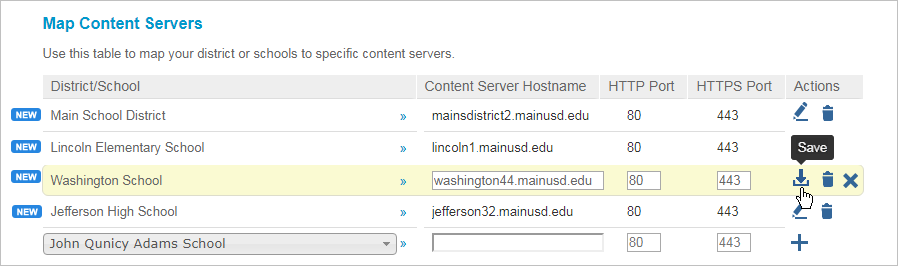
Edit content server settings
If the hostname or ports have changed on the content server computer, you’ll need to update the content server settings in mySciLEARN to keep using that content server. These must match the settings entered in the Apache 2.4 httpd.conf file—check with your system administrator for details.
- Click
 next to the content server settings you want to edit.
 - Make changes to the settings as needed and under Actions, click
 .
.
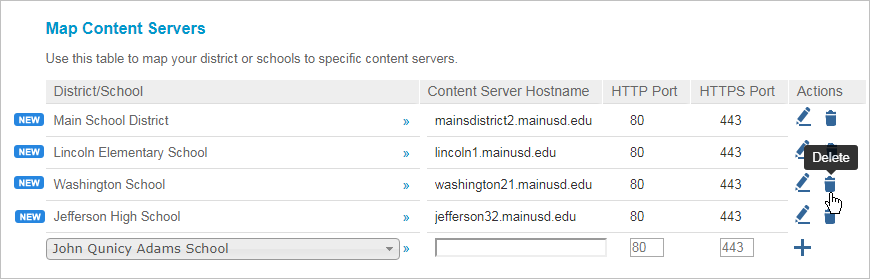
Delete content server settings
Deleting the content server settings from mySciLEARN allows the client computers to access the product content from mySciLEARN instead of the local content server. For example, you can delete the content server settings if you no longer plan to use a content server at a particular location.
- Click
 next to the content server settings you want to delete.
 - Confirm the delete action.
The student clients will immediately stop using the local content server and start accessing the content from Scientific Learning. To remove the Apache 2.4 content acceleration software from the computer, use the Programs and Features option in Windows Control Panel.
Optimize for home use (advanced)
About content server home use
For districts that want to use a content server while supporting location-based training, mySciLEARN provides an option that accelerates content access on startup by using your district network settings to check a student’s training location and then directing that student to the appropriate content service. For example, when the student starts a training session, the system checks to see if the student’s computer is within the district network. If so, the system immediately directs the client to the content server. If the student’s computer is outside of the district network—for example, at home—the system immediately directs the client to the mySciLEARN service.
To use this option, you’ll need to enter the IP address and subnet mask for your district network that defines the district’s external IP address range. Your district or school system administrator should be able to provide this information; however, if you have any questions or concerns, or would like help with this process, contact Carnegie Learning Customer Support.
Add district network settings
Before you begin, make sure you have the IP address and subnet mask for the district network that defines the district’s external IP address range for the district network you plan to set up.
- Access the Performance screen.
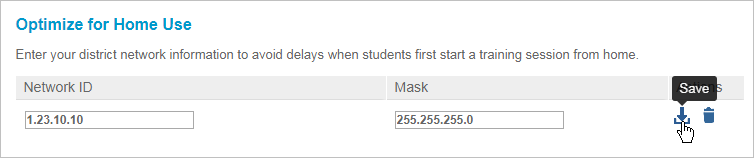
- Under Optimize for Home Use, enter the following information and click .
- In the Network ID field, enter the IP address for the district network.
- In the Mask field, enter the subnet mask for the district network.
Check with your system administrator to obtain these settings.
Edit district network settings
If your district network settings have changed, you’ll need to update those settings in to continue accelerating content access for home use.
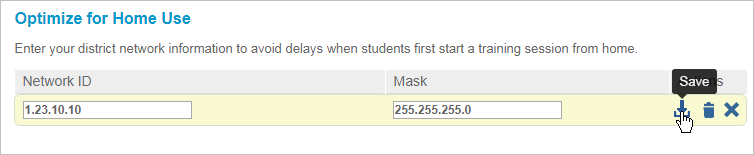
- Under Optimize for Home Use, click .
- Make changes to the district network settings as needed and click .
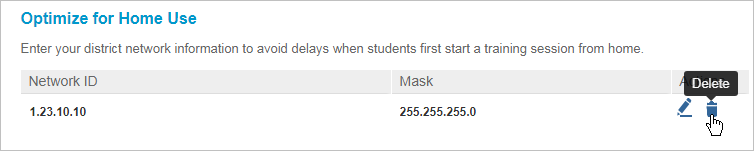
Delete district network settings
You can remove the district networks settings from mySciLEARN at any time. The students will still access content from the content server when training at school, and will still access content from mySciLEARN when training at home.
- Under Optimize for Home Use, click .
- Confirm the delete action.